-
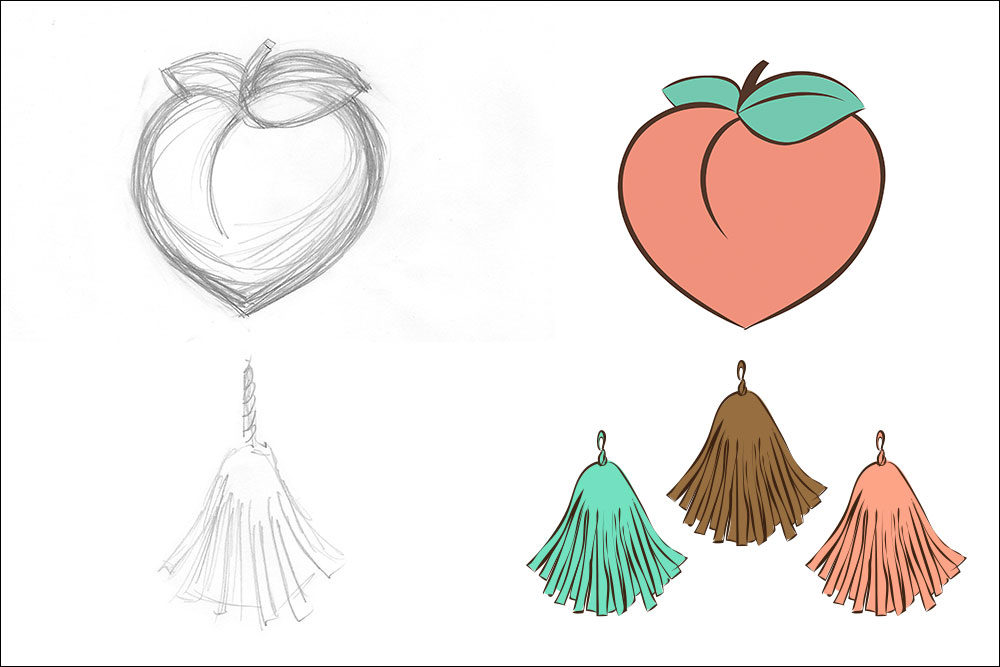
Pencil sketches and digital illustrations of a peach and tassels for the custom birthday party invitation. (All images © 2016 by Pam Winters)
-
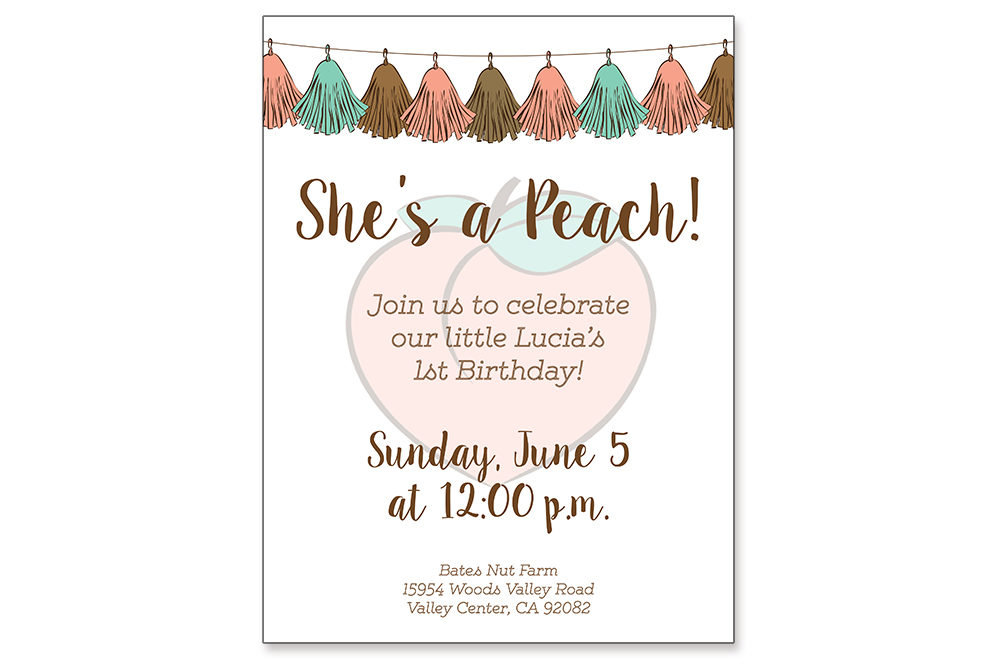
A digital custom birthday party invitation featuring original illustrations. (All images © 2016 by Pam Winters)
-
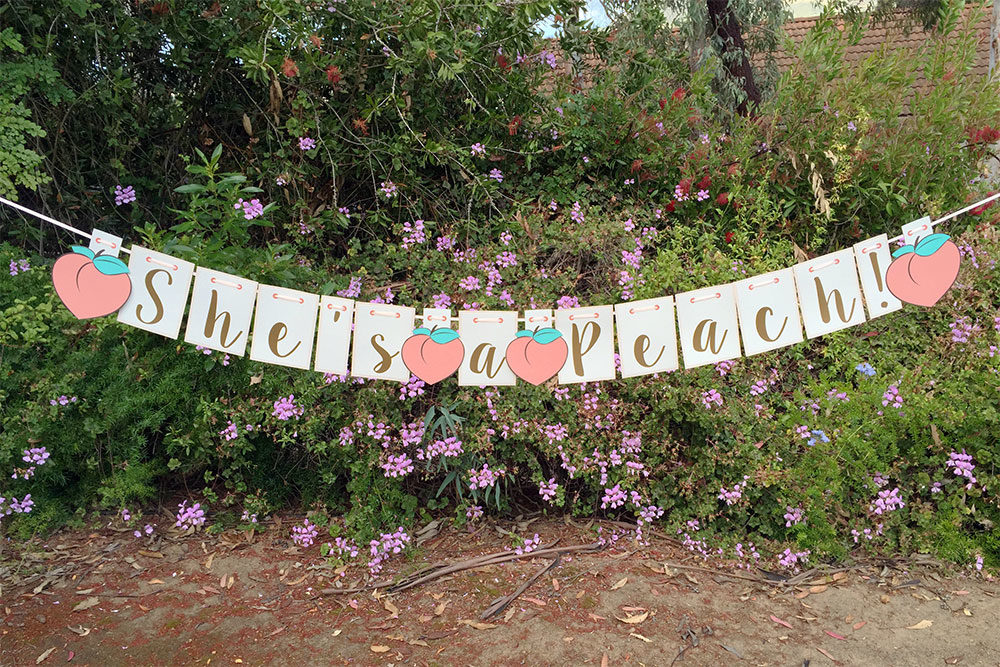
The finished custom birthday garland spelled out “She’s a Peach!” (All images © 2016 by Pam Winters)
-
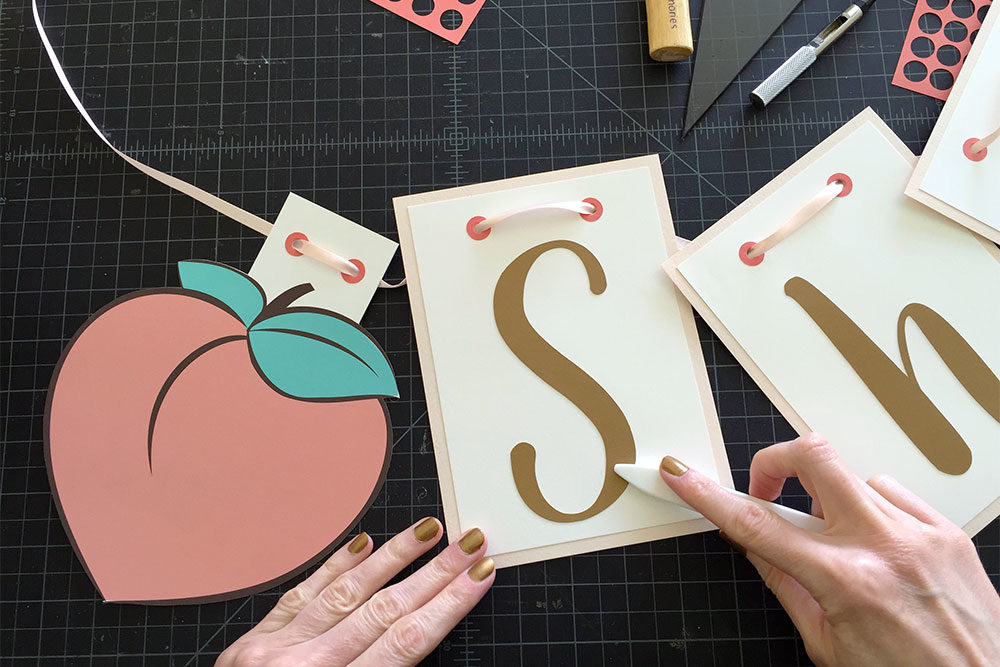
Each letter was cut out and assembled by hand before being strung on satin ribbon to spell out “She’s a Peach!” (All images © 2016 by Pam Winters)
-
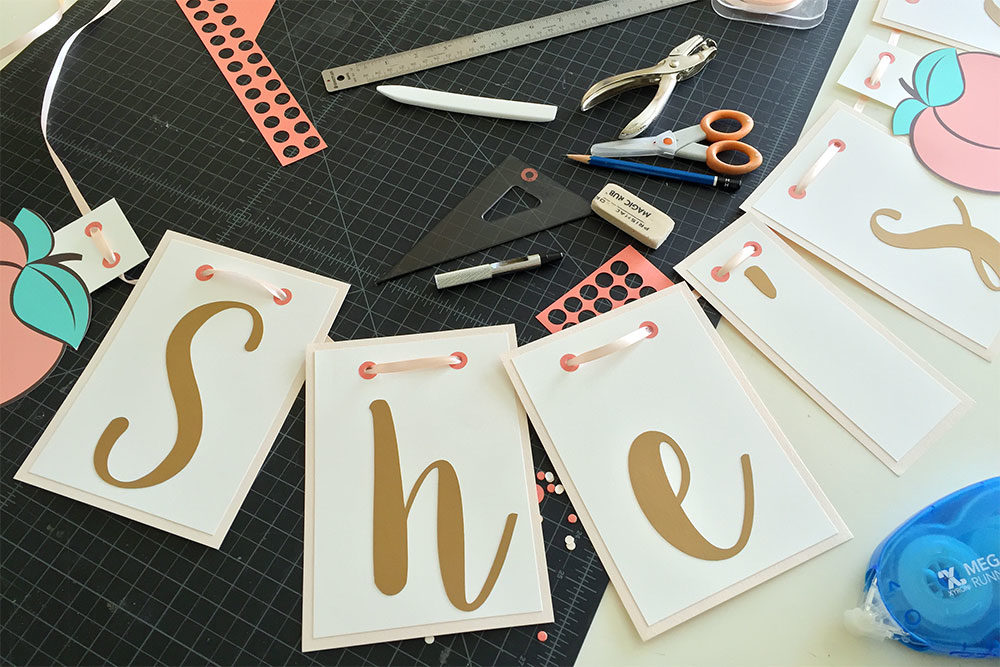
Paper letters and peach art strung on satin ribbon for the custom garland. (All images © 2016 by Pam Winters)
-
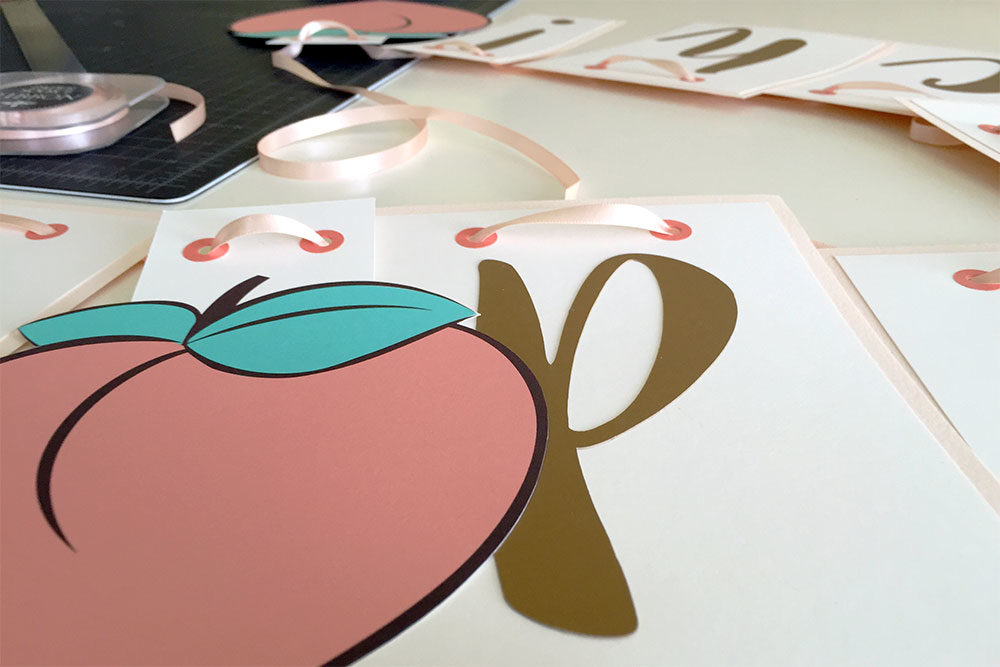
Close-up of paper letter and peach art strung on satin ribbon for the custom garland. (All images © 2016 by Pam Winters)
-
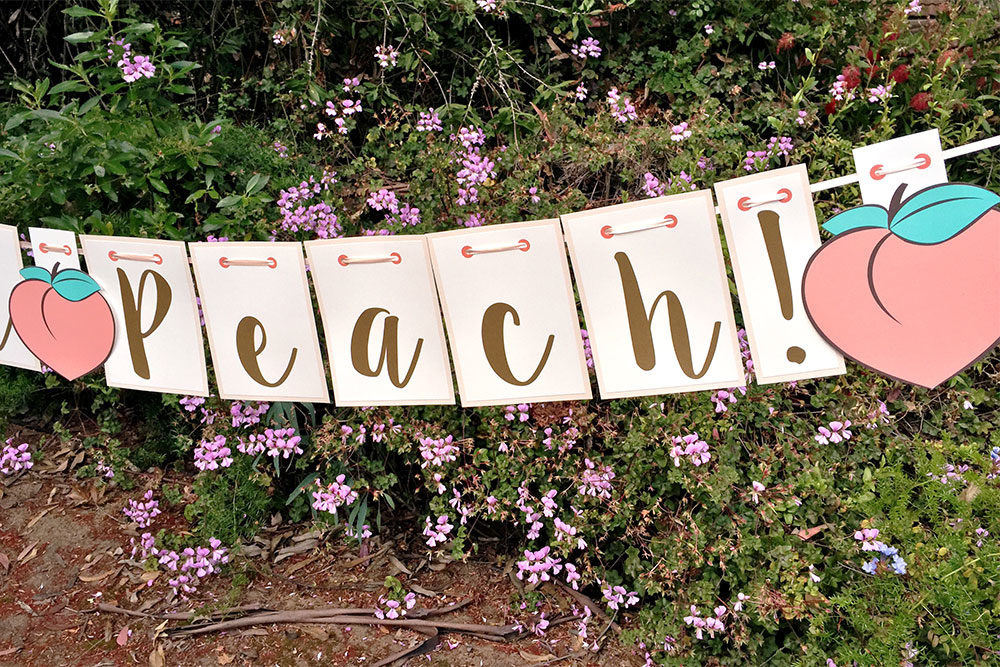
Paper letters and peach art hang on a satin ribbon for the custom birthday garland. (All images © 2016 by Pam Winters)
-
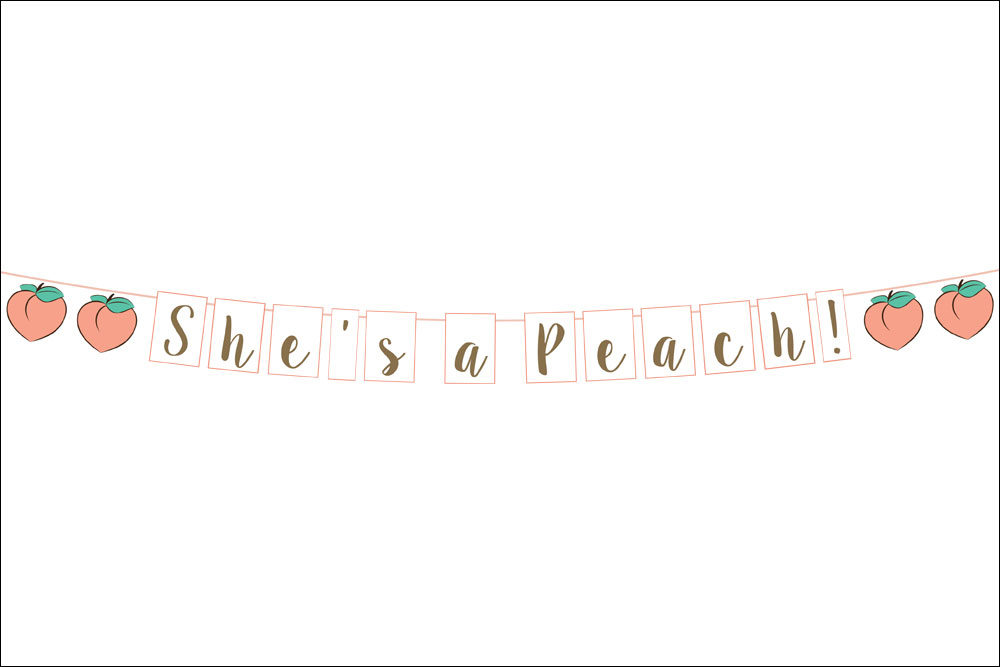
A digital mock-up I created before assembling the handmade custom garland. (All images © 2016 by Pam Winters)
Custom Invitation and Garland for a Sweet Birthday Girl
Projects where I get to draw original illustrations are some of my very favorite, and this one for a custom invitation and garland is no exception! One of my previous clients, the mother of a sweet little girl nearing her first birthday, contacted me for custom invitation and garland designs centered on a peach theme. Being a fan of tassels and peach hues, Angie brought me her inspiration and ideas for Lucia’s birthday party and we met to discuss them and the items she wanted me to make. Custom illustrations of a peach and tassels were the first things I did, and were placed front and center on the digital invitation design sent out to the birthday party guests. Then I got to work on the handmade garland, which was to spell out “She’s a Peach!” and incorporate the colors and font Angie had chosen. I also made sure to work in a highlight of the custom invitation: my peach illustration.
I printed the peach illustration at a couple of different sizes and also cut out each individual peach by hand. Additionally, I used a Silhouette CAMEO to cut the letters out from gold shimmer paper and then I mounted each letter onto two layers of card stock paper sized and arranged to show a slight border when I adhered them together using my favorite tape runner, the Xyron Mega Runner. I then glued two paper circles at the top of each garland piece (for reinforcement where ribbon would be strung through) and punched holes in the center of each circle by hand using a special tool. Satin ribbon matching one of the card stock papers, in a light peach color, was carefully strung through the punched holes and the garland was complete.
At Lucia’s birthday party, the handmade custom garland served as a festive and decorative centerpiece above the dessert table, celebrating the guest of honor and welcoming family and friends to a very joyous and special event!
